You step into your backyard, the smell of tomato vines heavy in the air and basil brushing your ankles as you pass. In one shady corner, just past the raised beds and beneath a curtain of morning glories, there’s a quiet little workhorse—your worm composting bin. It’s not flashy, but it’s faithful, transforming your kitchen scraps into the richest soil you could ask for. Just good, old-fashioned Southern grit doing its thing.
Thank you for reading this post, don’t forget to subscribe!
Where It All Began
This little project didn’t start in a lab or from a fancy garden catalog. No ma’am—it started with memories of Granny Lula’s backyard in Georgia, where nothing went to waste, not even watermelon rinds. She could coax a tomato out of dry clay and always kept a coffee can full of scraps by the sink—”for the good dirt,” she’d say with a wink.
Years later, when I found myself craving a simpler, more grounded way to live, I thought of her. And then I thought of worms.
Why Worm Composting?
Worm composting—also called vermicomposting—is perfect for folks who want to garden smarter and live a little greener. It’s clean, low-effort, and doesn’t require much space. Even better? It turns everyday scraps into powerful, nutrient-rich compost that plants adore.
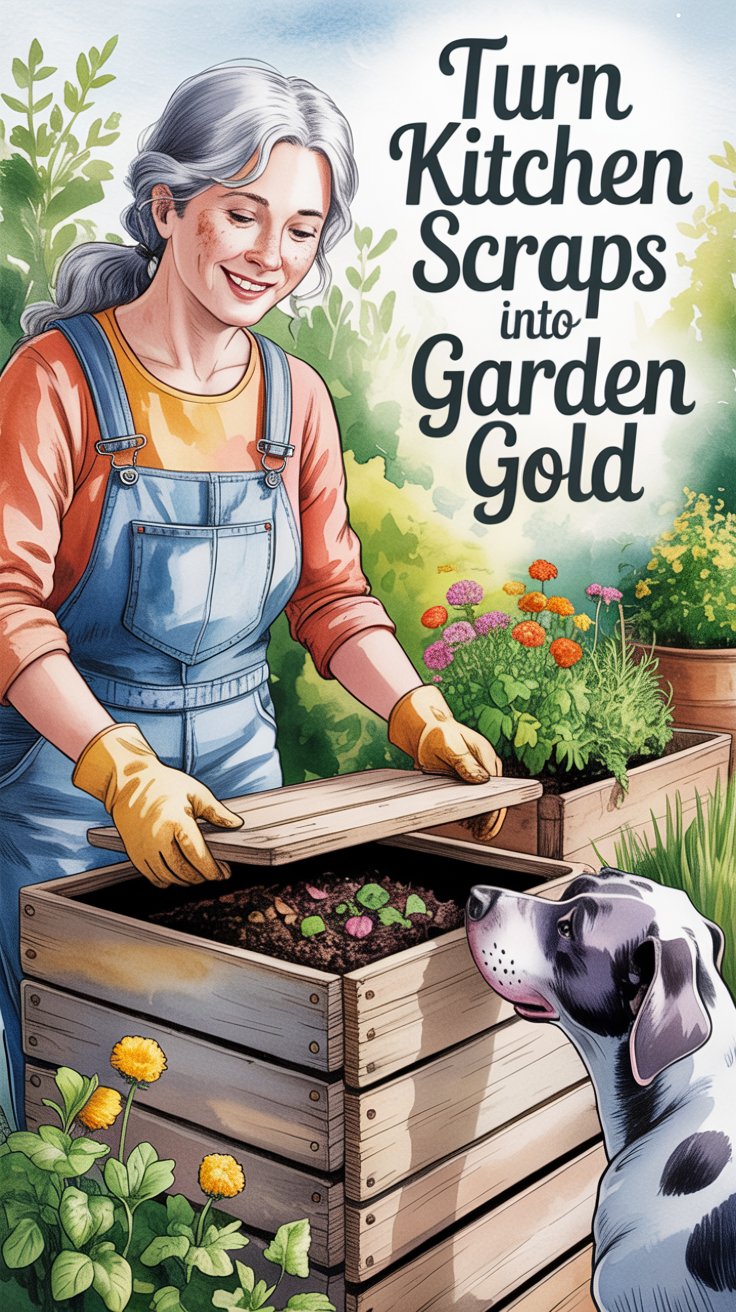
How to Build Your Worm Composting Bin
Think of it like setting up a lemonade stand—simple, sunny, and totally satisfying.
Planning & Prepping
Pick a cool, shaded spot—under the porch, in the shed, or tucked beside your garden beds. Worms like things cozy and dark, so keep them out of direct sun.
Gathering Materials
Here’s your “downhome supply list”:
- One 10–15 gallon plastic bin with a lid
- A drill or screwdriver for ventilation holes
- Shredded newspaper or cardboard (no glossy ads)
- A few handfuls of garden soil
- Red wiggler worms (Eisenia fetida)
- Spray bottle filled with water
- Kitchen scraps (veggie peels, coffee grounds, eggshells—no meat or dairy)
Step-by-Step Instructions
- Drill ventilation holes: Around the top sides and bottom of your bin. Air and drainage are key.
- Create bedding: Mix your shredded paper with a little soil and spray it until it feels like a damp sponge.
- Add the worms: Gently place them on top—they’ll dig themselves in.
- Start feeding: Add a small amount of chopped-up kitchen scraps. Bury them under the bedding.
- Top it off: Place a moist layer of newspaper over the bedding like a cozy quilt.
Caring for Your Compost Crew
Just like you wouldn’t forget to stir the pot of grits, don’t forget to check your worm bin once a week. Keep the bedding moist, the scraps balanced, and stir it gently now and then to keep it fresh. In 2–3 months, you’ll have the richest, darkest compost you’ve ever seen.
Garden Life, Southern Style
There’s something mighty satisfying about watching your garden thrive on what used to be “trash.” My neighbor once peeked over the fence and said, “You’re feeding your plants with what you scraped off your plate?”
“Sure am,” I told her. “And they’ve never looked better.”
A week later, she came by with her own bin, looking for a few worms to get started. And that’s how it spreads—quiet, humble, and full of promise.
A Family Affair
These days, our worm bin’s as much a part of our garden as the tomatoes or the wind chimes. The kids love “feeding the worms,” and I love knowing that we’re closing the loop, living just a bit more like Granny did. Simple, purposeful, and real.
Pin This for Later
If you’ve ever wanted to start composting but felt overwhelmed—this is your sign. It’s easy. It’s clean. And it’ll make your garden sing. All it takes is a bin, a few worms, and a willingness to give the scraps a second chance.
Love,
Granny B ❤️