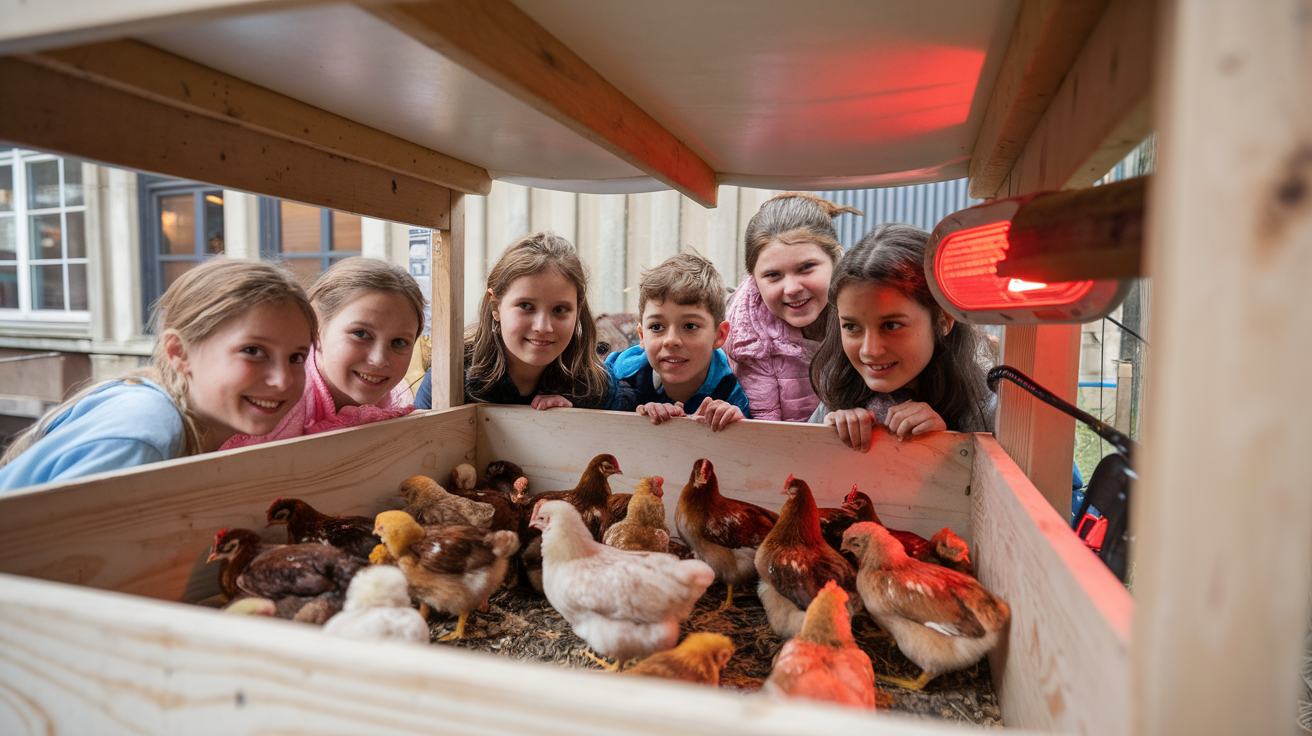
So, you’re ready to embark on the clucking adventure of raising chickens in your urban homestead? Congrats! There’s nothing quite like the satisfaction of gathering fresh eggs while your feathered ladies cluck contentedly in the background. But before you can collect eggs, you’ve got to start with chicks. Whether you’re hatching them or buying day-old fluffballs, here’s your go-to guide for the first two stages of raising chickens: Hatching or Purchasing Chicks and Brooding.
Thank you for reading this post, don’t forget to subscribe!Let’s dive in, friend—feathers first!
Part 1: Hatching or Buying Baby Chicks
Step 1: To Hatch or Not to Hatch?
Hatching chicks is like baking the world’s most delicate soufflé—it’s precise, exciting, and occasionally nerve-wracking.
Here’s what you’ll need:
- An Incubator: Opt for one with temperature and humidity controls. Brands like Brinsea or Harris Farms are great choices.
- Thermometer and Hygrometer: Even if your incubator says it’s accurate, trust but verify.
- Egg Turner: Unless you love rotating eggs by hand three times a day, get a machine to do it for you.
Tips for Success:
- Keep your incubator at 99.5°F and humidity around 50–55%. Bump humidity to 65% in the last three days (the “lockdown” phase).
- Patience, my friend! Those fluffy miracles take 21 days to hatch.
If hatching feels too advanced (or you just don’t trust yourself with eggs), buying day-old chicks is a fantastic option. Look for reputable hatcheries or local farms to ensure you’re getting healthy, vaccinated chicks. Pro Tip: Avoid feed store chicks unless the store has a stellar reputation.
Step 2: Choosing Breeds
Want eggs? Go for breeds like Rhode Island Reds or Golden Comets. Want personality? Silkies are sweet and adorable, like the golden retrievers of the chicken world. Remember to check your city’s rules—some urban areas restrict breeds or roosters.

Step 3: Prepare for Arrival
- Brooder Box: Your brooder is your chicks’ first home. A large plastic tote, kiddie pool, or wooden box works great. Line it with pine shavings (never cedar—it’s toxic to chicks!).
- Heat Source: A heat lamp with a red bulb is classic, but a safer option is a brooder plate like the Brinsea EcoGlow.
- Feeders and Waterers: Get a chick-sized feeder and waterer. Brands like Little Giant are affordable and effective.
- Feed: Start with a medicated chick starter feed. Non-medicated is fine if your chicks are vaccinated for coccidiosis.

Part 2: Brooding (0–8 Weeks)
The brooder stage is where you watch your chicks grow from tiny puffballs to awkward teenagers (seriously, their “ugly phase” is a rite of passage).
Step 1: Setting Up the Brooder
- Temperature: Keep it toasty! Start at 95°F for the first week, then drop by 5°F each week. Use a thermometer to double-check.
- Space: You’ll need at least 0.5 square feet per chick for the first few weeks. Upgrade the space as they grow.
- Safety First: Secure the brooder to prevent curious pets or kids from getting too close.
Step 2: Feeding and Watering
Chicks are eating machines! Keep their feeder full of starter feed. For water:
- Use a shallow waterer to prevent drowning. Add small stones or marbles to the dish for extra safety.
- Keep the water clean and fresh. Chicks have a knack for pooping in everything.
Step 3: Chick Care Tips
- Monitor Behavior: Chicks huddled together? Too cold. Scattered and avoiding the heat? Too hot. Aim for a happy medium.
- Cleanliness: Change bedding every few days to keep the brooder fresh. You don’t want your chicks waddling through a mess—this isn’t an MTV reality show.
- Handle with Care: Start holding your chicks daily once they’re settled in. This helps them get used to humans (and makes for great Instagram moments).
Step 4: Troubleshooting Common Issues
- Pasty Butt: Gross but common. If poop clogs their vent, gently clean it with a warm, damp cloth.
- Weak Chicks: A little sugar water or electrolyte solution can help perk them up. Products like Save-A-Chick are lifesavers.
Parting Words of Wisdom
Raising chicks is a rollercoaster of adorable moments and learning curves. By the time they’re ready to move to the coop at 8 weeks, you’ll feel like a pro. In the next stage, we’ll cover transitioning to the great outdoors and how to keep them healthy and happy as they grow.
Until then, give your little peepers some love, keep the brooder clean, and enjoy this magical (and slightly chaotic) phase. Stay tuned for Part 3! 🐣


