Welcome to Granny B’s Porch!
Hey there, darlin’! Come on in, kick off your shoes, and grab a glass of sweet tea—extra lemon if you’re fancy. Now let me tell ya somethin’: if you’ve got a drawer full of old pillowcases, embroidered tablecloths, or hand-me-down napkins just sittin’ around collecting dust, honey, we’re about to give ‘em a second life in the garden.
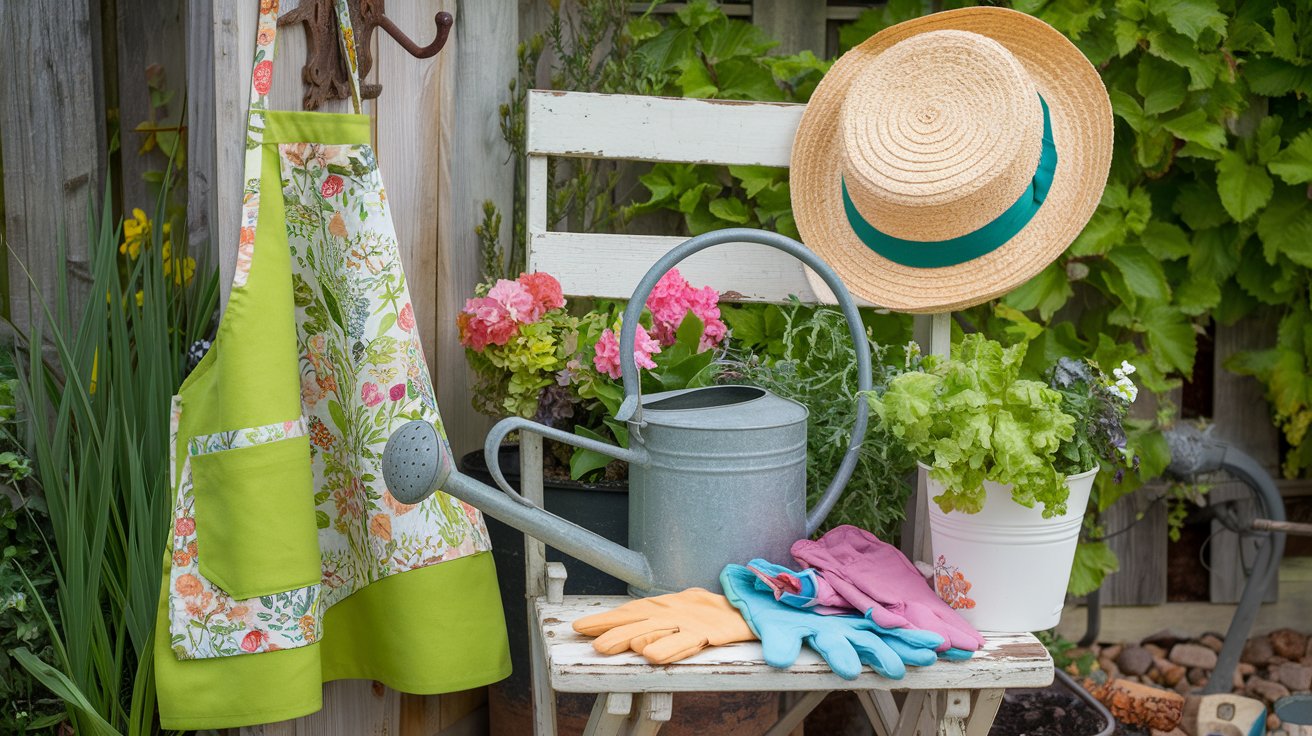
This little DIY is easy as pie, doesn’t cost much more than a spool of thread, and gives you the cutest apron that’s got just the right amount of “granny chic” charm. You’ll be planting your tomatoes with flair and not a speck of dirt on your Sunday pants.
Let’s get to stitchin’!
Supplies You’ll Need:
- Old linens (think: floral pillowcases, vintage tea towels, faded tablecloths)
- Fabric scissors
- Straight pins or sewing clips
- Sewing machine (don’t let it scare ya, it’s just a fancy blender for fabric!)
- Thread (coordinating or contrasting—Granny B don’t judge)
- Iron & ironing board
- Optional: lace trim, buttons, ribbon, or leftover rickrack from your glory days
Step-by-Step Instructions:
1. Pick Your Linen Canvas
Go dig through your linen stash and find a piece that makes you smile—a tablecloth with daisies, a napkin with Grandma’s monogram, anything with a story.
Picture This: A soft floral pillowcase fluttering on the clothesline, ready to become your garden’s new best friend.
2. Cut Out Your Apron Shape
Cut a rectangle approximately 18” wide x 24” long (or whatever size makes you feel like a domestic goddess). Add a little curve at the corners if you’re feelin’ sassy.
Picture This: That dainty linen laid flat, shaped like the beginnings of something magical (and useful!).
Granny B’s Tip: If you mess up the shape, just call it “boho-inspired asymmetrical design.” Works every time.
3. Iron Like You Mean It
Give that linen a good ol’ press. Wrinkles are fine on us grandmas, but not on aprons.
Picture This: Steam rising up from the ironing board like your apron’s in a spa day before its debut.
4. Add a Pocket (or Three!)
Use leftover scraps to create pockets. Who doesn’t love a good pocket? Stitch ‘em on wherever you fancy.
Picture This: A sweet embroidered rose peeking out from a pocket, ready to hold seed packets or a rogue cherry tomato.
Granny B’s Tip: Make one pocket extra deep for your secret snack stash (Granny keeps peanut M&Ms in hers, but you do you).
5. Hem the Edges
Fold the edges over twice (about ¼ inch), pin them, and stitch all the way around for a tidy finish.
Picture This: A sewing machine humming gently as your apron comes together like Sunday lunch.
6. Add Ties
Use ribbon, bias tape, or even old shoelaces if they’re cute enough. Attach them at the top corners for waist ties.
Picture This: Those apron strings fluttering in the breeze like they belong in a Hallmark movie.
7. Optional: Add Some Granny Bling
Sew on a little lace trim, an old button, or some rickrack for that homemade-with-love look.
Picture This: A dainty lace edge catching the sunlight as you stroll past the marigolds.
Granny B’s Real-Life Apron Oops:
Now listen here—I once tried to make an apron outta an old slip. Thought I was bein’ clever. But wouldn’t you know, I sewed the darn thing to the hem of my shirt while watching The Price is Right. Didn’t realize it ‘til I stood up and dragged the sewing machine halfway across the kitchen! So please, Sug!—double-check what’s under your fabric before you sew.
Until Next Time…
Well, sugar, that’s all for today! I hope you enjoyed this project as much as I enjoyed makin’ it. If your apron turns out a little crooked, just say it’s “character”—like laugh lines or gravy stains.
Love, Granny B 💖
P.S. If you loved this post and want to help keep the projects coming, you can Buy Me a Coffee,Click Coffee Cup Below! Every drop of support means the world to me—thank you in advance, sugar!