As the warmth of summer begins to fade, we’re reminded that the magic of our herb garden can be preserved for the cold winter months ahead. Whether you’re tending to a sprawling garden or coaxing a few favorite herbs to thrive on your windowsill, capturing the essence of your plant treasures is a deeply satisfying way to keep the flavors of the season alive.
Thank you for reading this post, don’t forget to subscribe!Drying your own herbs is remarkably simple and doesn’t require any fancy equipment. By doing so, you’ll not only save money but also end up with more vibrant flavor than anything you’ll find in those little store-bought jars. In this comprehensive guide, we’ll walk you through the process of drying and storing your dried herbs so you can enjoy that garden-fresh taste all year round.
Key Takeaways
- Learn the simple process of drying your own herbs at home.
- Discover the benefits of preserving your herb garden’s abundance.
- Explore multiple drying methods that work with your existing kitchen equipment.
- Understand the importance of proper storage for your dried herbs.
- Enjoy garden-fresh flavor in your cooking throughout the year.
The Benefits of Drying Your Own Herbs
By drying your own herbs, you’re not just preserving flavor, you’re capturing memories too! There’s a certain joy in opening a jar of homegrown, dried herbs and being transported back to your garden on a sunny day.
Why Homegrown Dried Herbs Outshine Store-Bought Options
Homegrown, dried herbs have a flavor intensity that’s hard to match with store-bought versions. When you dry your own herbs, you know exactly what you’re getting – no preservatives or additives, just pure herbs straight from your garden to your cooking. This not only ensures a superior taste but also connects you to traditional food preservation practices.
Year-Round Flavor from Your Garden
Drying herbs allows you to enjoy your garden‘s bounty all year round. When properly dried and stored, dried herbs can last for 1-2 years, providing a constant supply for your cooking needs. This means you can savor the taste of summer in the middle of winter, making meal prep more enjoyable and flavorful.
Harvesting Herbs at the Perfect Time
Timing is everything when it comes to harvesting herbs, and I’ve learned a thing or two about how to get it just right! Harvesting at the perfect time ensures that your herbs are at their most flavorful and potent. Whether you’re growing them for cooking, herbal remedies, or just for the joy of gardening, understanding when and how to harvest is crucial.
When to Harvest Different Types of Herbs
Different herbs have different harvesting times. For leafy herbs like mint and basil, the best time is just before they flower, when the leaves are at their most tender and flavorful.
Harvesting Leaves and Flowers
For herbs where the leaves and flowers are used, such as chamomile and lavender, it’s best to harvest in the morning after the dew has evaporated but before the sun is too strong. This helps preserve the delicate oils and keeps the herbs vibrant.
Harvesting Roots and Woody Herbs
For roots like echinacea and valerian, the late fall or early spring is ideal, as the plant’s energy is concentrated in the roots during these times. Woody herbs like rosemary and thyme should be harvested by taking the new growth, which is more tender and flavorful.
Proper Harvesting Techniques
When harvesting, it’s essential to use the right tools. For delicate herbs, a pair of sharp scissors or garden shears works well. For thicker stems, pruners are more suitable. Always follow the one-third rule: never harvest more than a third of the plant at once to allow it to continue producing throughout the season.
| Herb Type | Best Harvest Time | Tools Needed |
|---|---|---|
| Leafy Herbs (Mint, Basil) | Just before flowering | Sharp scissors or garden shears |
| Roots (Echinacea, Valerian) | Late fall or early spring | Digging fork or spade |
| Woody Herbs (Rosemary, Thyme) | New growth | Pruners |
Preparing Your Herbs for Drying
After harvesting, gently shake off any dirt or critters, remove any damaged leaves, and give the herbs a quick rinse if necessary. For many herbs, it’s best to leave them unwashed if they’re clean to preserve their natural oils.

How to Dry and Preserve Herbs: 4 Effective Methods
I’ve spent years perfecting the art of drying herbs, and I’m excited to share my favorite methods with you! Drying herbs is a simple way to preserve their flavor and aroma, allowing you to enjoy them throughout the year. Whether you’re a seasoned gardener or just starting out, these methods will help you dry your herbs like a pro.
Air Drying: The Traditional Method
Air drying is my go-to method for most herbs. There’s something so satisfying about seeing bundles of herbs hanging from my kitchen ceiling, slowly transforming as they dry in the warm air. To air dry herbs effectively, you need a warm area with good airflow – this prevents mildew and ensures your herbs retain their potency.
Bundling and Hanging Herbs
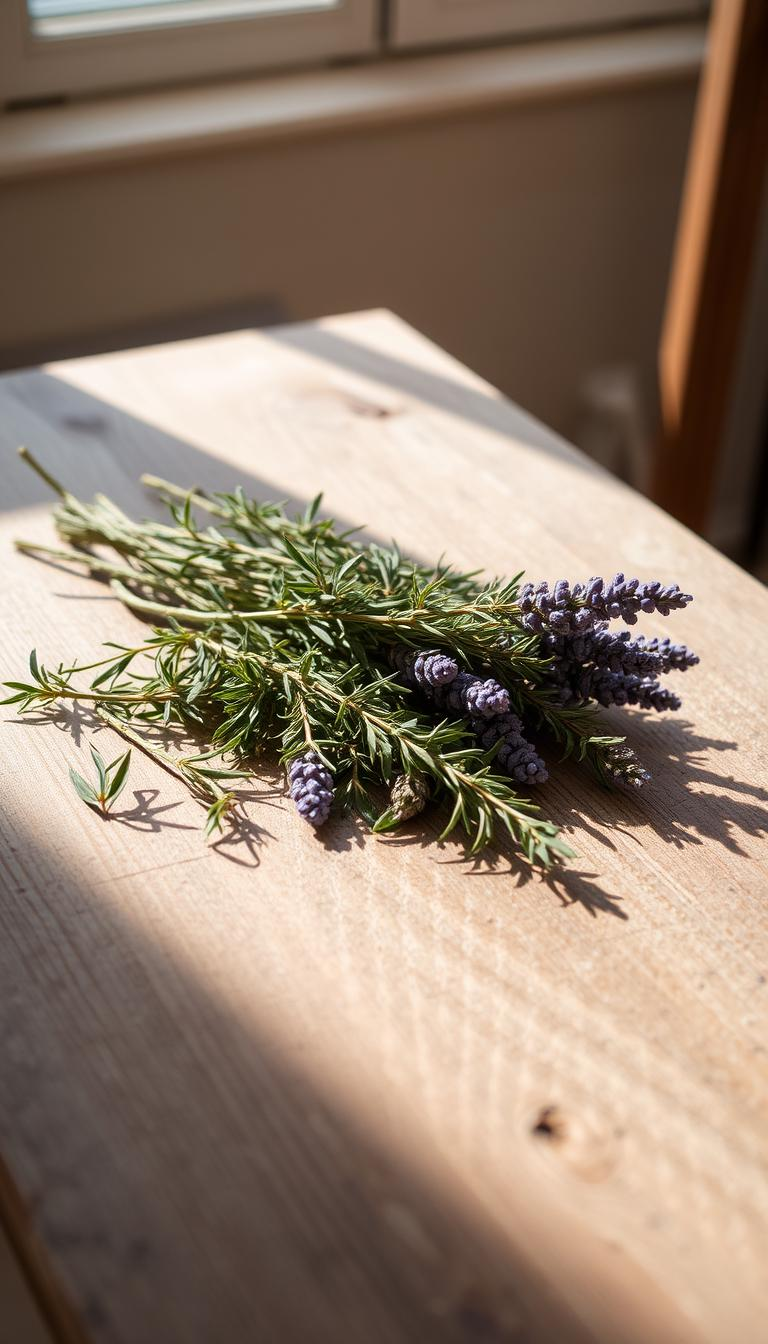
One of the easiest ways to dry long-stemmed botanicals like lavender and rosemary is by bundling the stems and hanging them upside down. I find that gathering about 8-10 stems together and securing them with twine works perfectly. The stems will shrink as they dry, so using rubber bands can sometimes result in them becoming too loose.

Using Screens and Drying Racks
For delicate herbs like basil and mint that don’t bundle well, screen drying is a game-changer. Simply lay the herbs in a single layer on a screen or drying rack, making sure they’re evenly spaced. This method allows air to circulate around the herbs, drying them gently and preserving their flavor.
Using a Food Dehydrator
My food dehydrator is a valuable tool, especially during humid summer months when air drying might lead to mold. To dry herbs using a dehydrator, simply place them in a single layer on the dehydrator trays and set the temperature to the lowest setting (around 95°F). This method is particularly good for roots and barks.

Oven Drying: Quick but Tricky
Oven drying is my “plan B” method. It works in a pinch, but you’ll need to keep the temperature very low (the lowest setting with the door cracked open) and monitor the herbs closely to prevent them from cooking instead of drying. This method is best used when you need dried herbs quickly and don’t have the time for air drying.
Microwave Drying: The Emergency Method
For those “oh no, I need dried herbs right now” moments, the microwave method can be a lifesaver. However, I only recommend it for small quantities when you’re really in a bind. To microwave dry herbs, place a small amount between two paper towels and heat for short intervals, checking until they’re dry.
Image of herbs being dried in the microwave
How to Tell When Your Herbs Are Properly Dried
Knowing when your herbs are dry is crucial for preserving their flavor and aroma. It’s a step that can make or break the quality of your dried herbs. When done correctly, you’ll be rewarded with herbs that retain their vibrant color and fragrance.
Visual and Texture Indicators
To determine if your leaves are properly dried, use the crumble test. Simply rub a leaf between your fingers; if it crumbles easily without feeling damp or bending, it’s ready. The color of your dried herbs should be a vibrant, though slightly darker, version of their fresh state. Any browning or blackening suggests they’ve been dried too quickly or at too high a temperature.

Common Mistakes to Avoid
One of the most common mistakes is packaging herbs before they’re completely dry, which can lead to mold growth due to remaining moisture. To avoid this, give your herbs extra time to dry if you’re unsure. For woody herbs and stems, the snap test is a good method; they should break with a clean snap rather than bend, indicating that all moisture has evaporated.
By paying attention to these indicators and avoiding common pitfalls, you’ll be well on your way to drying herbs like a pro, preserving the best of your plant in the most natural way possible.
Storing Dried Herbs for Maximum Flavor and Longevity
The key to maintaining the flavor and potency of your dried herbs lies in how you store them. After all the work of growing, harvesting, and drying your precious herbs, proper storage is the final crucial step to ensure they maintain their flavor and potency for months to come!
Best Containers for Herb Storage
Glass containers are my absolute favorite for herb storage – they don’t impart any flavors or odors to your herbs, and amber-colored ones provide protection from light that can degrade those essential oils. I like to use amber-colored jars like these Ball jars from Amazon to protect the leaves inside. If your jars are clear, just make sure to keep them out of direct light.
When storing, pull the leaves (and the flowers) from the stems over a plate and pour them into the jar. It’s best to keep the leaves whole now and then crumble them to release the flavors (from the oils inside) when you’re using them in a dish.
Ideal Storage Conditions
The enemies of dried herbs are light, heat, air, and moisture – so the perfect storage spot is cool, dark, dry, and in airtight containers that keep oxygen exposure to a minimum. My grandmother taught me to store dried herbs in the pantry rather than near the stove – the heat and steam from cooking can cause condensation in your jars and lead to spoilage of your carefully preserved herbs.
Labeling and Organization Tips
Labeling is something I used to skip (thinking I’d remember what everything was), but trust me on this one – a simple label with the herb name and drying date will save you from mystery herbs and help you use the oldest ones first! Most jars have a little spot on them where you can write the date that you’re storing whatever’s inside. I recommend labeling each jar with the date and the name of the herb.
For those special culinary blends you might create (like Italian seasoning or herbs de Provence), I recommend storing them in smaller containers so they’re used up quickly once mixed together.
Conclusion: Enjoying Your Preserved Herbs Year-Round
As you stand back to admire your handiwork, you’ll realize that drying herbs is not just about preservation – it’s about capturing the essence of your garden and the joy of the gardening process. When properly dried and stored in airtight containers, your herbs will remain fresh for 1-2 years, filling your kitchen with the flavors and aromas of the season, even in the dead of winter.
Congratulations on mastering the art of herb preservation! You’ve joined a long tradition of gardeners and cooks who understand the joy of capturing summer’s bounty for year-round enjoyment. I encourage you to experiment with creating your own signature herb blends, combining different dried leaves and flowers to create custom seasonings that make your cooking distinctively yours.
Remember, dried herbs are more potent than fresh, so use about one-third the amount called for in recipes. As you continue your herb preservation journey, keep notes on what works best for your climate, garden, and cooking style, and don’t be surprised if friends and family start asking for your dried herbs as gifts!
Leave a Reply