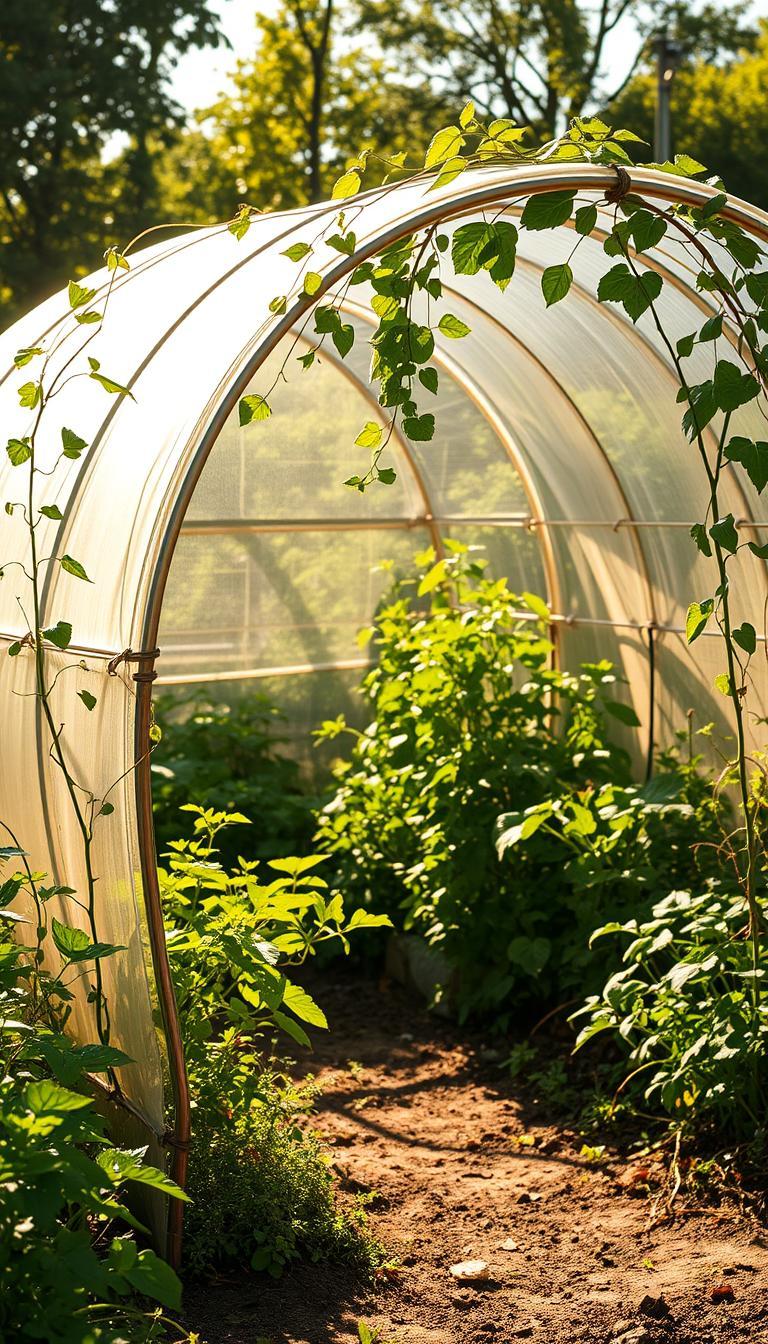
A hoop house is essentially a mini-greenhouse that sits in your garden, built using cattle fencing or PVC hoops wrapped in a plastic covering. By using a hoop house, gardeners can increase productivity even in challenging climates.
I’ve seen firsthand how a hoop house can transform a garden, turning it into a thriving oasis that produces fresh produce all year long. Whether you’re dealing with a short growing season or unpredictable weather, a hoop house is a game-changer for any gardener.
Key Takeaways
- Extend your growing season with a simple and affordable hoop house.
- Protect your plants from harsh weather conditions.
- Increase productivity in your garden even in challenging climates.
- Build a hoop house using cattle fencing or PVC hoops and plastic covering.
- Enjoy a bountiful harvest of fresh produce year-round.
Why Build a DIY Hoop House for Your Garden
Imagine having a cozy blanket for your garden – that’s what a DIY hoop house provides against the elements! It’s like giving your plants their very own protective shield, allowing them to thrive even when the weather outside is less than ideal.
Let’s dive into the benefits of having a hoop house. One of the most significant advantages is extending your growing season. By creating a warm microclimate, you can start planting weeks or even months earlier than your neighbors. This means you’ll be enjoying fresh produce long before others are even preparing their soil.
Extending Your Growing Season
With a hoop house, the soil warms up faster and maintains more consistent temperatures, which is perfect for happy plant roots and stronger growth throughout the season. This controlled environment allows you to grow a variety of crops, including those that are typically sensitive to frost, like tomatoes and peppers.
| Crop | Typical Planting Time | Hoop House Planting Time |
|---|---|---|
| Tomatoes | Late Spring | Early Spring |
| Peppers | Late Spring | Early Spring |
| Green Beans | After Last Frost | Before Last Frost |
Protection from Weather Elements
Mother Nature can be quite unpredictable, bringing hailstorms, driving rains, and gusty winds that can damage your plants. A hoop house acts as a protective barrier, shielding your garden from these harsh conditions and ensuring your crops remain healthy and productive.
Increased Plant Productivity
The controlled environment inside a hoop house creates ideal growing conditions, which can dramatically increase your harvest. For instance, tomato plants can double their yield when protected in a hoop house compared to those exposed to the elements. This makes a hoop house an invaluable asset for any gardener looking to maximize their produce.
By building a DIY hoop house, you’re not just providing a shelter for your plants; you’re giving them a chance to flourish in a protected environment. Whether you’re a seasoned gardener or just starting out, a hoop house can be a game-changer for your garden, offering a longer growing season and increased productivity.
Materials Needed for Your DIY Hoop House
Before you begin constructing your DIY hoop house, it’s crucial to have the right materials on hand. Building a hoop house is a relatively straightforward process, but having the correct supplies will make all the difference in its durability and effectiveness.
Framework Options: PVC vs. Metal
When it comes to the framework of your hoop house, you have two primary options: PVC pipe or metal conduit/cattle panels. For beginners, PVC pipe is a budget-friendly and easy-to-work-with choice. Look for 1-inch diameter rigid electrical conduit PVC pipe, as it’s more resistant to UV damage than regular white PVC. Gray PVC pipe is a good option because it’s not affected by sunlight and comes with a built-in belled female end, making connections easier. On the other hand, metal framing is more durable and suitable for areas with heavy snow or wind. For a 10′ x 20′ hoop house, you’ll need several 10-foot lengths of pipe or conduit.
| Frame Material | Durability | Cost |
|---|---|---|
| PVC Pipe | Moderate | $3.80 per 10 feet |
| Metal Conduit | High | Varies |
Covering Materials: Choosing the Right Plastic
The plastic covering is a critical component of your hoop house, and it’s worth investing in high-quality material. Opt for genuine 6 mil greenhouse plastic with UV protection, which is designed to last 4-5 years. Thinner plastics may degrade quickly and tear in the wind. You’ll need enough plastic to cover your entire frame with some extra for securing it at the base.

Tools and Additional Supplies
In addition to the framework and plastic covering, you’ll need some essential tools and supplies. These include rebar stakes for anchoring, UV-resistant zip ties for securing connections, and a good pair of scissors. You’ll also need a method for clamping or securing your plastic, such as spring clamps or specialized greenhouse clips. Other useful items include mason line, tarp clips, weighted hoop house framing, and Gorilla Tape.
For a basic 10′ x 20′ hoop house, expect to spend between $100-200 on materials, depending on your choice of framework and where you source your supplies. With the right materials, you’ll be well on your way to creating a thriving and productive garden environment.
Planning Your Hoop House Design
Before you start building your DIY hoop house, it’s essential to plan your design carefully. A little thinking now saves a heap of headaches later! When planning, consider the size and location of your hoop house.
Determining the Right Size and Location
Consider the size carefully – while bigger might seem better, remember that you’ll need to reach the middle for planting and harvesting. Keeping the width around 10-12 feet makes for comfortable gardening without stretching too far. The length can be whatever fits your space and needs, but 16-20 feet works beautifully for a family garden.
- Choose a spot with good drainage and level ground (or be prepared to level it).
- Ensure the right sun exposure for what you plan to grow.
- Leave enough space around all sides of your hoop house for maintenance and air circulation.
Considering Wind, Snow, and Sun Exposure
If you live in a windy area, position your hoop house with the narrow ends facing the prevailing winds to reduce damage. For snowy regions, a steeper pitch to your hoops helps shed snow naturally. Think about access to water – having a water source nearby will save you countless trips lugging heavy watering cans.
Key considerations: wind direction, snow load, and sun exposure. By taking these factors into account, you’ll create a hoop house that’s both functional and resilient.

Step-by-Step DIY Hoop House Construction
Now that we’ve planned our DIY hoop house, it’s time to roll up our sleeves and start building! This project is more about patience than skill, so don’t be intimidated. We’re going to break it down into manageable steps, and before you know it, you’ll be enjoying a longer growing season.
Building the Base Framework
The foundation of your hoop house is crucial. Start by marking out your hoop house footprint with stakes and string, ensuring your corners are square. You can use the 3-4-5 triangle method to check this. For the base, you can either use pressure-treated 2x4s secured to the ground with rebar stakes or build directly on a raised bed frame. Make sure it’s level and secure because this is the foundation of your whole structure. Use treated wood for durability, and consider a U-shaped framework using a treated 2×6 on its side with a treated 2×4 screwed horizontally to the top and bottom.
Installing the Hoops
When installing your hoops, whether using PVC pipe or metal, space them about 2-4 feet apart. Ensure they’re pushed securely into the ground or attached firmly to your base frame. These need to stand up to wind and weather, so don’t skimp on this step. Cut half of the pieces of pipe in half with a hand saw, then assemble them by placing a whole 10-foot section centered over the top, and shove the bell of one cut section onto the male end of the whole piece.

Attaching the Ridge Beam
A ridge beam running along the top of your hoops adds tremendous strength to the whole structure. Measure and cut out 1¼” by 1-inch-deep chunks in the beam every 24 inches for the PVC pipes to rest in. This step is crucial, especially if you live in an area with snow or high winds. It helps distribute the weight evenly and prevents your hoops from becoming dislodged.
Securing and Covering with Plastic
For the plastic covering, choose a calm day and recruit a helper. Unroll the plastic onto soft grass to measure for length, then fold it gently back up and carry it to the garden. Stretch it out smoothly across the framework, front to back, carefully squaring it up. Begin fastening it to one side with strips of lath, screwed in with five or six evenly-spaced screws per piece. Be careful to pull the plastic tight between pieces while moving along the side to prevent flapping and wear.
Secure your plastic tightly to prevent damage. You can use specialized greenhouse clips, batten strips, or even buried edges for a secure attachment. Don’t forget to plan for ventilation by creating roll-up sides or end panels that can be opened on warm days.
Using Your Hoop House Effectively
Now that you’ve built your hoop house, it’s time to unlock its full potential! The key to a successful harvest lies in understanding how to manage the environment within your hoop house. This includes maintaining optimal temperatures, ensuring proper watering, and selecting the right crops.
Temperature Management and Ventilation
Temperature management is crucial in a hoop house. On sunny days, especially in early spring, temperatures can soar to 100°F or more inside your structure if you don’t provide ventilation. Create a daily routine of opening doors or roll-up sides in the morning and closing them in the evening to maintain ideal growing temperatures. During cold snaps, consider adding a small heater or jugs of water to prevent freezing damage.

Watering Considerations
Watering in a hoop house is different from garden watering. The plastic covering prevents rainfall from reaching your plants, so you’ll need to be more diligent about consistent irrigation. Consider installing drip irrigation or soaker hoses to make watering more efficient and to keep humidity levels lower, which helps prevent fungal diseases.
Best Crops for Hoop House Growing
Choose your hoop house crops wisely. Focus on plants that truly benefit from the protected environment, such as heat-loving crops like peppers, eggplants, tomatoes, cucumbers, and melons in cooler climates. In warmer regions, use your hoop house to extend your season for greens and cool-weather crops. Succession planting works beautifully in hoop houses, allowing for continuous harvests throughout the extended growing season.
Conclusion
As we wrap up our journey to building a DIY hoop house, it’s clear that this simple structure can revolutionize your gardening experience. You’ve learned how to cover the ground effectively, protecting your plants and extending your growing season. With your new hoop house, you’ll be able to grow a variety of crops, from juicy tomatoes to crisp greens, using the right plastic covering and pipes for the framework.
Remember, the beauty of a DIY hoop house lies in its versatility and the ability to make adjustments over time. Don’t be discouraged by initial challenges; troubleshooting is part of the learning process. Happy growing, and may your hoop house bring you seasons of gardening joy and bountiful harvests!