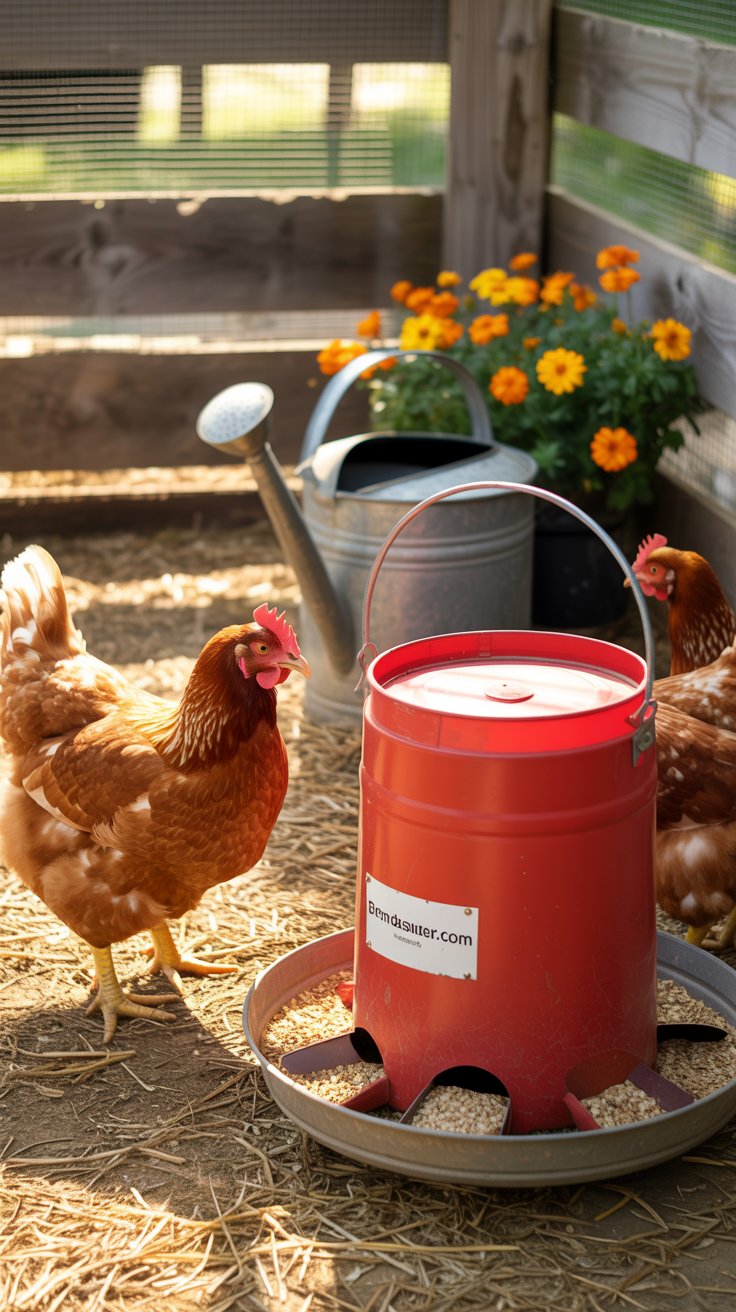
Well, hey there Sug! If you’re like me, you’ve got a coop full of squawkin’, struttin’, egg-layin’ divas—and bless their feathered hearts, they act like they’re starvin’ every time you step outside! Today I’m gonna show you how to whip up your very own DIY Chicken Feeder that’s budget-friendly, easy to make, and just plain adorable. Whether you’ve got three hens or a whole sassy flock, this little project will keep their beaks full and your mornings easier.
Thank you for reading this post, don’t forget to subscribe!So tie on your apron, grab a sweet tea, and let’s get to buildin’ somethin’ your girls will cluck over!
Supplies Needed:
- One 5-gallon plastic bucket with lid
- One standard-size plastic plant saucer (12″ or larger)
- Nuts and bolts (or heavy-duty waterproof glue)
- Optional: Chicken-safe paint or stencils for decorating
- A few handfuls of layer feed to test it out
Tools Needed:
- Drill with a 1.5″ hole saw or spade bit
- Marker or pencil
- Ruler or measuring tape
- Screwdriver (if using nuts and bolts)
- Gloves (optional, but your manicure will thank you)
Step-by-Step Instructions:
Step 1: Mark Your Holes
Grab that clean 5-gallon bucket and flip it bottom-side up. About 2 inches from the base, use your marker to evenly space 4 to 6 dots around the rim.
Sassy Tip: Don’t overthink it, honey—just eyeball it like you do with gravy.
Picture This: A sunny back porch with a bright red bucket and a feisty hen eyeballin’ you like she knows what you’re up to.

Step 2: Drill Baby, Drill!
Using your drill and hole saw bit, drill out each marked hole. These little openings are where the feed will flow through for your gals to peck at.
Sassy Tip: Hold onto that bucket tight—ain’t no shame in asking a neighbor for a hand if it gets wild!
Picture This: A bucket full of perfectly round holes and a proud grin on your face—tools scattered like a real-life DIY queen.
Step 3: Attach the Saucer
Now flip that bucket upright and center the plant saucer or a large old pie tin on the bottom. If you’re usin’ bolts, mark where to drill holes and fasten ’em down tight. If you’re gluin’ it, give it a good press and let it dry overnight.
Sassy Tip: You want it snug as a tick but still easy to clean later.
Picture This: A cozy corner of your chicken yard with you, glue gun in hand, and a hen pokin’ around like your supervisor.
Step 4: Fill ’Er Up
Pop the lid on your bucket, flip it right side up, and pour in that feed. As the chickens peck, gravity does all the work—ain’t that smart?
Sassy Tip: You just built a feeder that saves you time and keeps the coop cleaner. Somebody get you a gold star!
Picture This: A happy flock gathered ’round like it’s a buffet, tails waggin’ and beaks peckin’.

Finished Product:
Just look at you! With a little elbow grease and a whole lotta charm, you’ve made yourself a DIY Chicken Feeder that’s durable, mess-free, and mighty cute if I do say so myself. It’s the kind of thing that makes life easier for you and tastier for your hens.