Well, Hey There Darlin’!
Pull up a kitchen stool, fix yourself a cold glass of sweet tea, and get ready to have some good old-fashioned fun! Today, we’re makin’ Homemade Strawberry Roll-Ups—that’s right, just like the ones the grandbabies beg for, but without all the mystery ingredients you can’t pronounce. Around here, we believe in simple, sweet, and from-scratch delights that’ll make your kitchen smell like heaven and your heart feel full.
Thank you for reading this post, don’t forget to subscribe!So grab that apron and let’s get to rollin’, honey—Granny B’s way!
Supplies Needed:
- 2 cups fresh strawberries, hulled and sliced
- 1–2 tablespoons honey or maple syrup (optional, if your berries are tart)
- 1 tablespoon lemon juice
- Parchment paper or silicone baking mat
- Optional: A sprinkle of cinnamon or vanilla extract for a little extra sass
Tools Needed:
- Blender or food processor
- Fine mesh strainer (optional, for extra-smooth roll-ups)
- Baking sheet
- Oven or dehydrator
- Rubber spatula
- Sharp kitchen scissors or pizza cutter
Step-by-Step Instructions
Step 1: Prep Your Berries
Granny B says: “A clean berry is a happy berry, darlin’. Wash ’em like you’re preparin’ ’em for church.”
Picture This: A bright colander of juicy red strawberries glistening in the sun on a vintage farmhouse sink.
Step 2: Blend the Magic
Toss those strawberries, lemon juice, and honey into your blender and blend until smooth.
Granny B says: “Whir it up, sugar, until it looks smoother than a Southern gentleman at a Sunday social.”
Picture This: A gleaming red swirl in a mason jar blender, with a lace curtain dancing behind it in the breeze.
Step 3: Strain (Optional)
If you like your roll-ups silky smooth, strain the puree through a mesh sieve.
Granny B says: “Ain’t nothin’ wrong with a few seeds—but if you’re feelin’ fancy, strain it like you mean it!”
Picture This: A sweet strawberry stream dripping through a strainer into a glass bowl, all neat as a pin.
Step 4: Spread It Out
Line your baking sheet with parchment or a silicone mat, then spread your strawberry mixture nice and thin.
Granny B says: “Spread it like you’re frosting your famous pound cake—gentle and even, sugar.”
Picture This: A ruby-red sheet of puree glistening under kitchen light, just waitin’ to become something magical.
Step 5: Bake Low and Slow
Pop it in the oven at 170°F (or the lowest setting) for 4–6 hours. It’s done when it’s dry to the touch but still a little tacky.
Granny B says: “Low and slow, baby—this ain’t no microwave magic, this is Southern alchemy.”
Picture This: The roll-up firming up in the oven while the whole house smells like summer jam.
Step 6: Slice and Roll
Once cool, cut it into strips and roll it up with parchment paper.
Granny B says: “Now don’t go eatin’ it all before you roll it—though I can’t say I blame you if you do!”
Picture This: Sweet little spirals of strawberry joy stacked neatly in a vintage floral tin.
Finished Product:
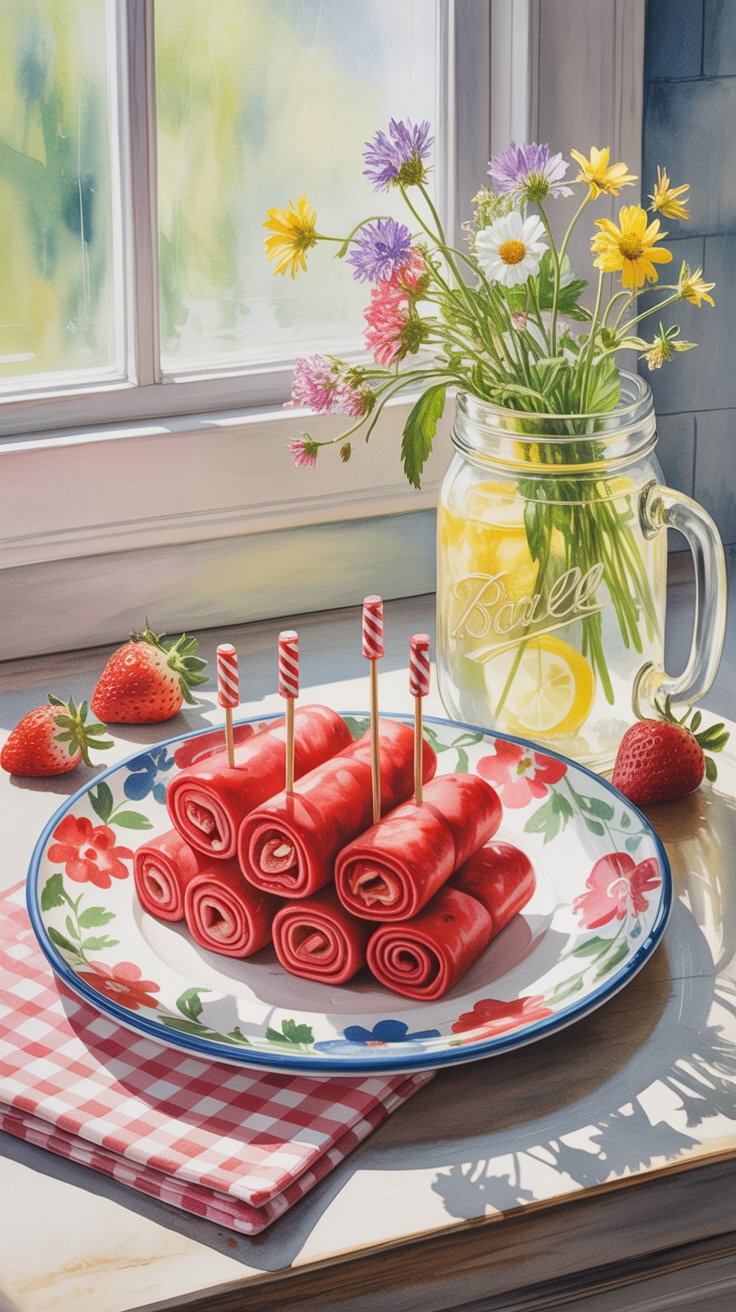
You’ve got yourself some Homemade Strawberry Roll-Ups so full of sunshine and sass, they’ll make even the pickiest eaters holler for more. Sweet, chewy, and just the right amount of tangy—they’re perfect for lunchboxes, road trips, or snackin’ on the porch swing.
Love, Granny B❤️


